As a nice change of pace, I've started working on my Low Poly Day piece! To be fair, I should have started earlier but I was preoccupied with other things these past few weeks.
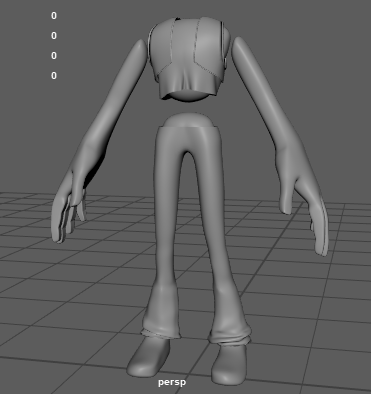
For my low poly art, I'm planning on making a little diorama based on Dead Estate! I figured it would be fitting, considering the game's origins on NG and the game's pixelated artstyle. All the main models have more or less been modeled, but at varying stages.
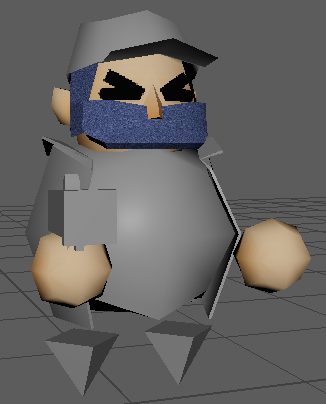
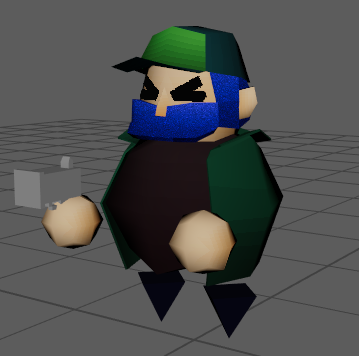
The model with the most progress done is the Jeff model. For a majority of the model, I use a subdivided sphere, and alter the parts as I go. I figured that this would give me enough flexibility to make complex shapes with still keeping the models coherent as I went along. While it may still seem simple, the pistol that Jeff is holding is the most complicated part of the model. Since I wanted to try and get the weapons as close to the models from the game, I tried my best to make the general shape of the weapon while still allowing for enough details to be filled in with the textures. This has turned out to be trickier than expected, as the only 3D reference for the pistol is the rotating sprite in game. For the textures, I've been using a combination of noises, gradients, and pixelation filters in a program called Paint.net. While I could use Photoshop or Substance Painter to make the textures better, I feel that for this fairly simple project I can get away with very simple textures. Photoshop would be overkill for what I'm making right now, and Substance Painter doesn't have a good way to make pixelated textures out of the box (Though there's a very good plug-in that fills the gaps!).
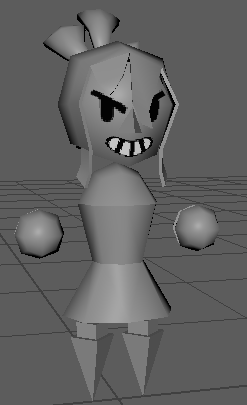
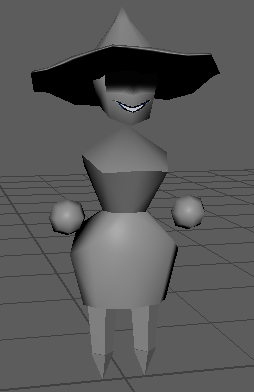
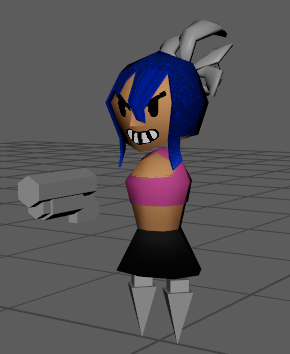
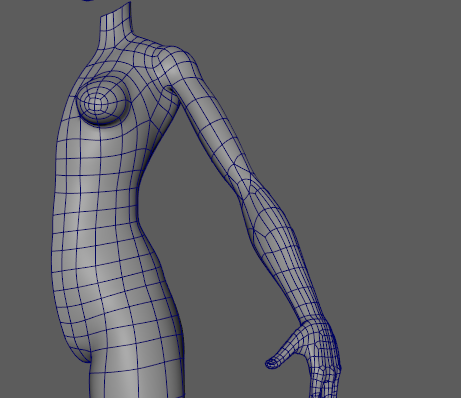
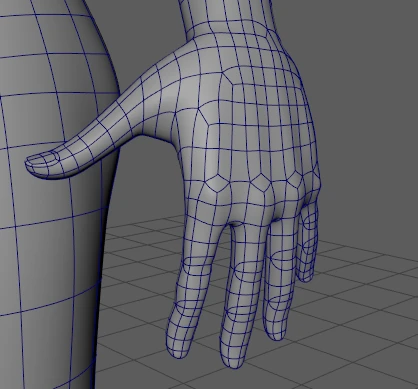
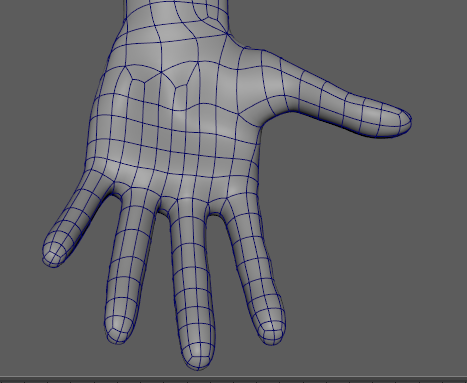
The second most finished model is Jules', with the least being Cory's model. I at least tried to get the faces on each of the characters before I start texturing them so I get a better idea in my head on how they should look like. On the subject of faces, one of the ways that I've been trying to make each model unique is by making them have a different major facial feature each. For Jeff, this is his closed eyes and a lack of a mouth. For Jules, it's the open eyes with a wide grin. And for Cory, it's just her mouth, though that's a crucial part of her design in the game. That's not up to me. One of the most interesting parts of this project so far was figuring out how to model in a low polygon count while still making it look passable. My only foray into low poly art was one incredibly simple model that didn't really go anywhere. I didn't want to bite off more than I could chew, so I opted for detached limbs and heads for simplicity. This would also mean that if I actually have the time to make a diorama, I could pose the models without having to make a rig for each character. Surprisingly, the Jules and Cory models were modeled in a single day. If I want to make a decent backdrop for them, it would definitely be possible.
I plan on looking into some plug-ins that are available in Blender to achieve the look that I'm going for. As much as I love to use Maya, Blender has many more free plug-ins for the Le Epic Hecking Retro crowd that I can utilise. I've had a very cursory look into what Maya can do to emulate the PSX style of rendering, but it's too much work at the moment than I would like. One of the main things that I want to be able to get right is dithering on the shadows of the models. Standard lighting and shadows wouldn't be enough for what I'm going for. However, this would mean that I would have to figure out how to properly render images from Blender. I'm sure it isn't hard, but I'm just not a fan of figuring out rendering engines.
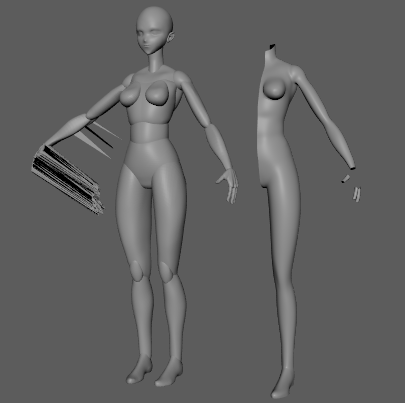
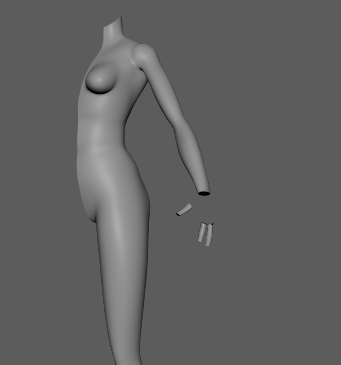
That's it for this week's post! I'm going to focus more on finishing all this low poly stuff before the deadline, so expect more of this for the next few weeks. After that, I'm either back on my persona modelling or my OC modelling. Both of those have different roadblocks that I need to figure out how to get past. The persona is in real need of a jacket of sorts, but I don't know how to go about making it look good. The OC's modelling is almost done, but I can not for the life of me figure out how to make the hairline look nice. Those are issues for another day, though!
Thank you and good-bye for today!